Hey there! As a supplier of Angle Stop Valve Pex, I've seen my fair share of issues with these valves, and one of the most common problems is a damaged valve. In this blog, I'm gonna walk you through how to repair a damaged Angle Stop Valve Pex.
Understanding the Angle Stop Valve Pex
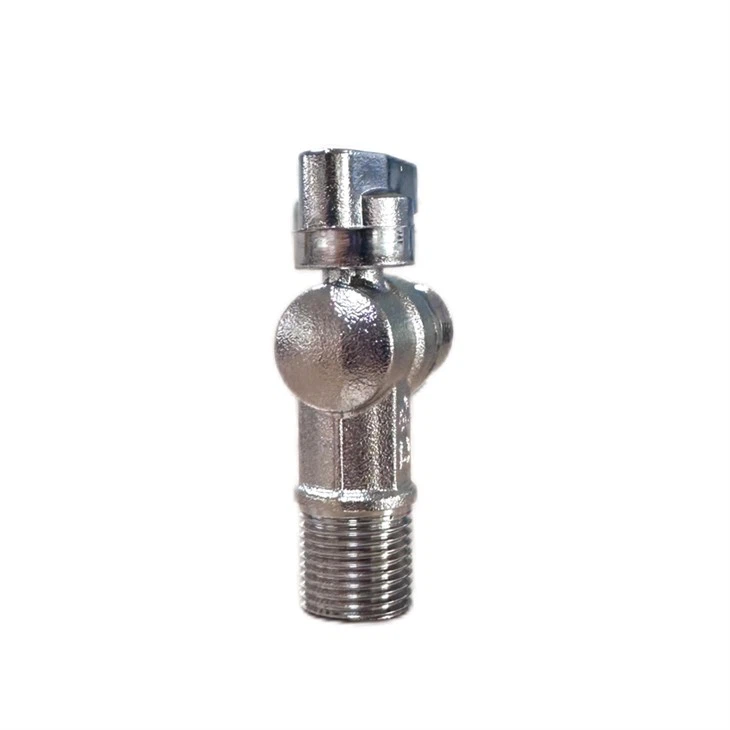
First off, let's talk a bit about what an Angle Stop Valve Pex is. It's a crucial part of your plumbing system, used to control the flow of water to fixtures like sinks, toilets, and washing machines. The "angle" in its name comes from the 90 - degree turn in its design, and "Pex" refers to the type of tubing it's often connected to. If you're looking for more info on Angle Stop Valve Pex, you can check out this link: Angle Stop Valve Pex.
Tools and Materials You'll Need
Before you start the repair, gather these tools and materials:
- Adjustable wrench
- Pex cutter
- Pex fittings (if needed)
- Teflon tape
- Replacement valve (in case the damage is beyond repair)
Step 1: Shut Off the Water Supply
This is super important. You don't want water gushing out everywhere while you're trying to fix the valve. Find the main water shut - off valve for your home or the specific shut - off valve for the fixture connected to the damaged Angle Stop Valve Pex. Turn it clockwise until it stops.
Step 2: Drain the Water
Once the water supply is off, open the fixture (like a sink faucet) connected to the valve. This will let any remaining water in the pipes drain out. You might also want to place a bucket under the valve to catch any drips.
Step 3: Inspect the Valve
Take a good look at the valve. Check for signs of damage such as cracks, leaks around the connections, or a valve that won't turn properly. If the valve is cracked, it might need to be replaced. But if it's just a problem with the connections or the valve stem, you can probably repair it.
Step 4: Loosen the Connections
Use an adjustable wrench to loosen the nuts connecting the Angle Stop Valve Pex to the Pex tubing and the fixture. Be careful not to overtighten or strip the nuts. If the nuts are really tight, you can try using some penetrating oil to loosen them up.
Step 5: Remove the Valve
Once the connections are loose, carefully remove the damaged valve from the plumbing system. You might need to wiggle it a bit to get it out.
Step 6: Examine the Pex Tubing
While the valve is out, check the Pex tubing for any damage. If there are cuts or kinks in the tubing, you'll need to cut out the damaged section using a Pex cutter. Make sure to cut the tubing straight and clean.
Step 7: Prepare the New Valve or Repair the Old One
If the valve is beyond repair, it's time to install a new one. If it's a minor issue, like a leaky valve stem, you can try to repair it. For a leaky valve stem, you can usually fix it by tightening the packing nut or replacing the packing washer. Wrap some Teflon tape around the threads of the valve stem before reassembling to prevent future leaks.
Step 8: Reconnect the Valve
If you're using a new valve, connect it to the Pex tubing and the fixture. Make sure to align the valve properly and tighten the nuts with your adjustable wrench. Don't over - tighten, as this can cause damage to the valve or the connections.
Step 9: Test for Leaks
Once the valve is reconnected, turn the water supply back on. Slowly open the main water shut - off valve or the specific shut - off valve. Then, open the fixture connected to the valve. Check for any leaks around the valve and the connections. If you see a leak, turn off the water again and tighten the connections a bit more.

Troubleshooting Common Issues
- Leaking around the valve body: This could be due to a cracked valve. If tightening the connections doesn't stop the leak, you'll need to replace the valve.
- Valve won't turn: Sometimes, the valve stem can get stuck. You can try using a bit of lubricant on the valve stem. If that doesn't work, it might be a sign of internal damage, and you'll need a new valve.
- Leaking from the Pex connections: Make sure the Pex fittings are properly installed. If the leak persists, you might need to replace the Pex fittings.
Maintenance Tips to Avoid Future Damage
- Regular inspections: Check your Angle Stop Valve Pex every few months for signs of wear and tear.
- Don't over - tighten: When making connections, use just enough force to secure the valve. Over - tightening can cause damage.
- Protect from freezing: In cold climates, make sure to insulate the pipes containing the Angle Stop Valve Pex to prevent freezing and cracking.
Why Choose Our Angle Stop Valve Pex
As a supplier, I can tell you that our Angle Stop Valve Pex is top - quality. We use high - grade materials to ensure durability and long - lasting performance. Our valves are designed to be easy to install and maintain, which means less hassle for you in the long run. Whether you're a DIY enthusiast or a professional plumber, our products are a great choice for your plumbing needs.
Contact Us for Purchasing
If you're in the market for Angle Stop Valve Pex or have any questions about our products, we'd love to hear from you. Whether you need a single valve for a home repair or a bulk order for a large project, we can provide you with the right solutions. Just reach out to us, and we'll be happy to assist you with your purchasing decision.
References
- "Plumbing Handbook"
- "Pex Plumbing Installation Guide"